Create a workflow
Workflows are chains of connected tools. You can copy and edit any of the publicly available workflows hosted on the CGC, or use the workflow editor to build a workflow from scratch.
Create a workflow
Workflows are created as individual apps within projects. So, to create a workflow, first navigate to the project in which you want to create your workflow.
- Go to the Apps tab.
- Click + Add app in the top-right corner.
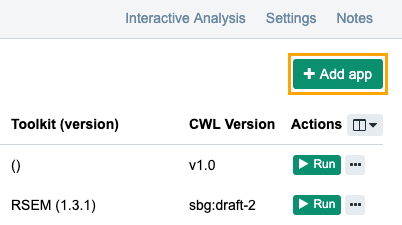
- Click the Create New App tab, as shown below.
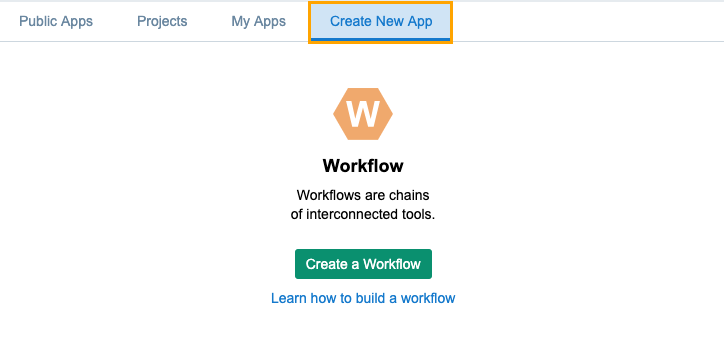
- Click Create a Workflow.
- Name your workflow.
- Select the CWL version to use for your workflow. Learn more about CWL.
- Click Create.
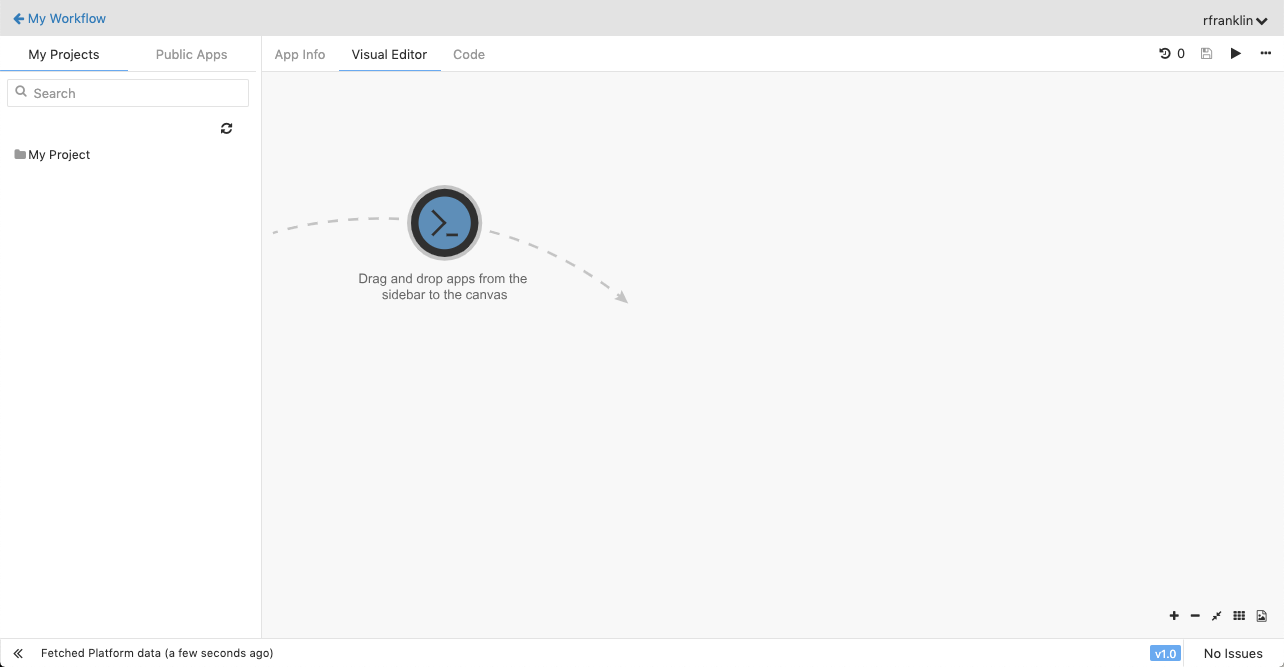
Once you have named your new workflow, you will be taken to the workflow editor, shown below.
Insert apps
Use the left-hand panel in the workflow editor to find apps, which will be the nodes in your workflow. You have the following options:
- My Projects - apps that are already present in one of your projects. Click the refresh icon
 to refresh the list of available apps, in case an app has been added during the creation of the workflow.
 - Public Apps - Select an app from the Public Apps gallery. You can also group apps based on the category (type of analysis) they belong to (e.g. "Variant-Calling") or toolkit - based on their toolkit (e.g. "SAMTools").
Both of these tabs include a search box at the top of the list that allows you to filter available apps by name.
Drag-and-drop your chosen tools onto the canvas.
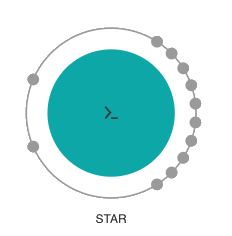
Tools are graphically represented in the workflow editor as circular nodes, as shown below.
Removing a tool from the workflow editor
If you accidentally drag-and-drop the wrong app onto the canvas, click the app and then click on the bin icon in the bottom-right corner of the canvas to remove it.
Connect tools
There are circles on the perimeter of each each node in the workflow editor. These represent the tool's ports, used for data to flow in and out of. Circles on the left of the node represent input ports whereas the ones on the right indicate output ports.
Clicking on a port, and dragging will reveal a smart connector. Use this to connect tools into workflows.
Add input and output nodes to workflows
To add an input node and connect it to a tool, drag the smart connector from the tool's input node to the left and release anywhere in the blank canvas space. An input port will be created.
To add an output node to the workflow, drag the smart connector from a tool's output node to the right and release it anywhere in the blank space. This creates an output port.
Relabel tools
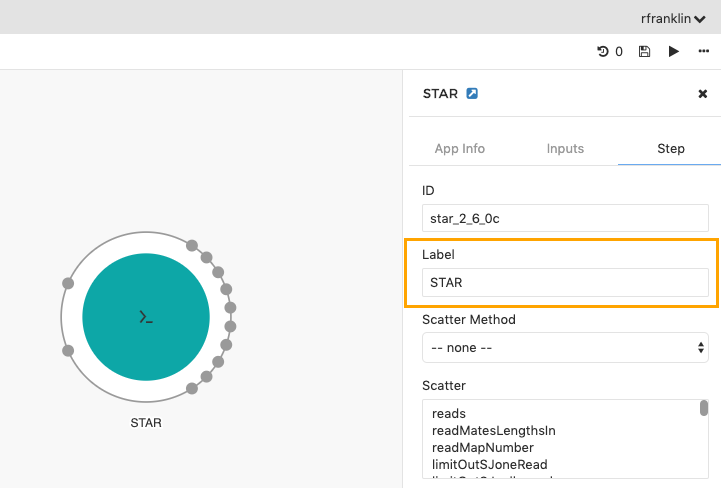
To relabel a tool, double-click it, select the Step tab in the object inspector on the right and change the value in the Label field.
When you've finished building a workflow, click the Save icon in the top-right corner.
Updated almost 3 years ago
