This page contains procedures related to the legacy editor. Try out our new editor that has a more streamlined design and provides a better app editing experience. More info.
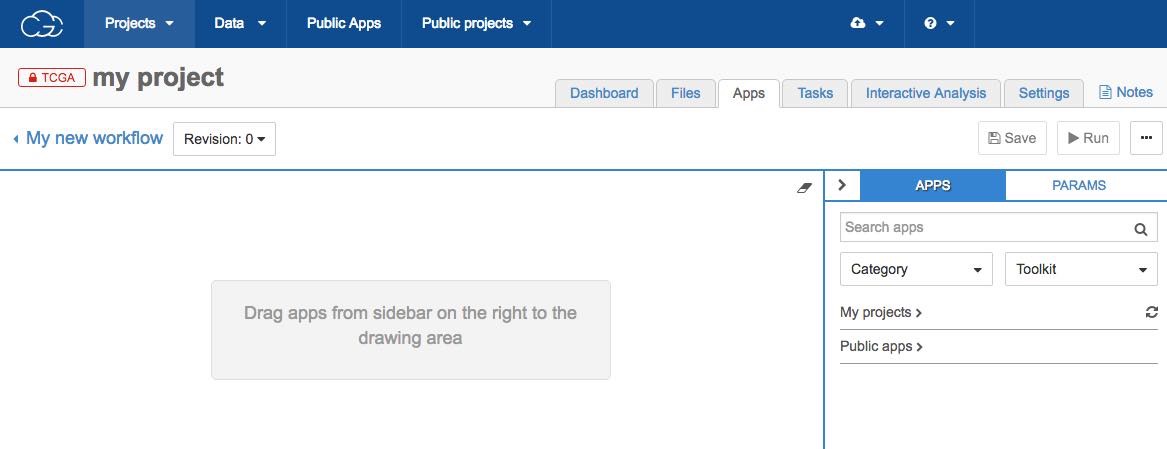
Workflows are chains of connected tools. You can edit any of the publicly available workflows hosted on the CGC in the Workflow Editor. As shown below, you can also use the Workflow Editor to build a workflow from scratch.
To develop and test CWL apps locally on your desktop before deploying on the CGC, use the Rabix tolkit. Develop apps locally for faster results, as you do not have to acquire an available cloud instance each time you want to test the workflow.
On this page:
Create a workflow
Workflows are created within projects. So, to create a workflow, first navigate to the dashboard for the project that you want to work in.
- Go to the Apps tab, and click + Add app.

- Click Create New App and then click Create a workflow in the pop-up, as shown below.

- Name your workflow, and click Create.

Once you have named your new workflow, you will be taken to the Workflow Editor, shown below.

Insert apps
Use the right hand panel on the Workflow Editor to find apps, which will be the nodes in your workflow. You have the following options:
- Search apps - enter the desired keyword(s) to search for an app.
- Category - filter apps based on the category (type of analysis) they belong to (e.g. "Variant-Calling").
-
- Toolkit - filter apps based on their toolkit (e.g. "SAMTools"). Click the app name to open the app page with further information.
Apps are divided into:
- My projects are apps that you have described using the Tool Editor (for Tools) or Workflow Editor (for workflows).
- Public apps are publicly available apps on the CGC.
Drag-and-drop your chosen tools onto the canvas.
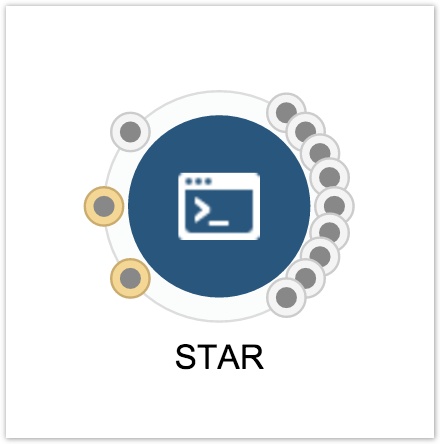
Tools are graphically represented in the Workflow Editor as blue circular nodes, as shown below.

Removing a tool from the Workflow Editor
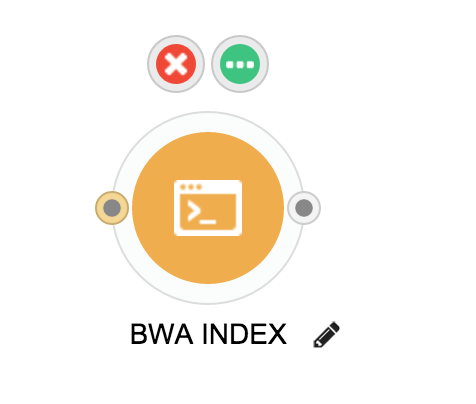
If you accidentally drag-and-drop the wrong tool onto the canvas, click on the node and then click on the ‘x’ in the red circle to remove the tool from the workflow.
Connect tools
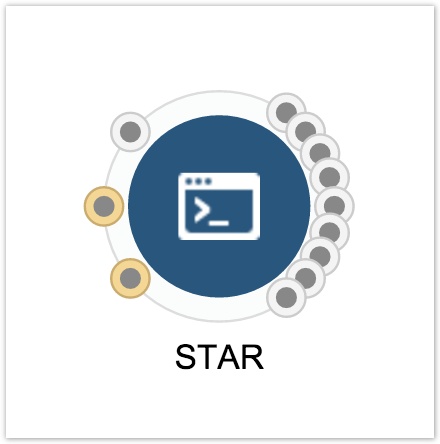
There are circles on the perimeter of each each node in the Workflow Editor, as shown below. These represent the tool's ports, used for data to flow in and out of. Circles on the left of the node represent input ports whereas the ones on the right indicate output ports.

Clicking on a port, and dragging will reveal a smart connector. Use this to connect tools into workflows.
Add input and output nodes to workflows
To add an input node and connect it to a tool, drag the smart connector from the tool's input node to the far left of the the canvas. An input node will be added.
To add an output node to the workflow, drag the smart connector from a tool's output node to the far right of the canvas.
Relabel tools
To re-name a tool, click on the tool, and then select the pencil icon that appears next to the tool name.

Rename a tool
When you've finished building a workflow, click Save in the upper right corner.
Add suggested files for an input
When creating a workflow, you can set suggested files from Public projects for any of the workflow's file inputs. This will allow anyone who runs the workflow to set the suggested files as inputs in a single click, and only have to add the remaining input files manually.
To set suggested files for a workflow:
- Click an input node in the workflow editor.
- In the pane on the right, click the folder icon next to the Input suggested files field. You can now set suggested files for the input node.
- Navigate through Public projects or use the search fields to find the file(s) you want to set as suggested.
- Mark the checkboxes next to the file(s).
- Click Pick in the bottom-right corner.
Once you have saved the workflow, the selected files will be automatically suggested as inputs when the workflow is run on the CGC. Please note that suggested files can currently be defined only for sbg:draft-2 workflows.
Updated over 3 years ago
